


Premium Bathroom Vanities Made in Canada
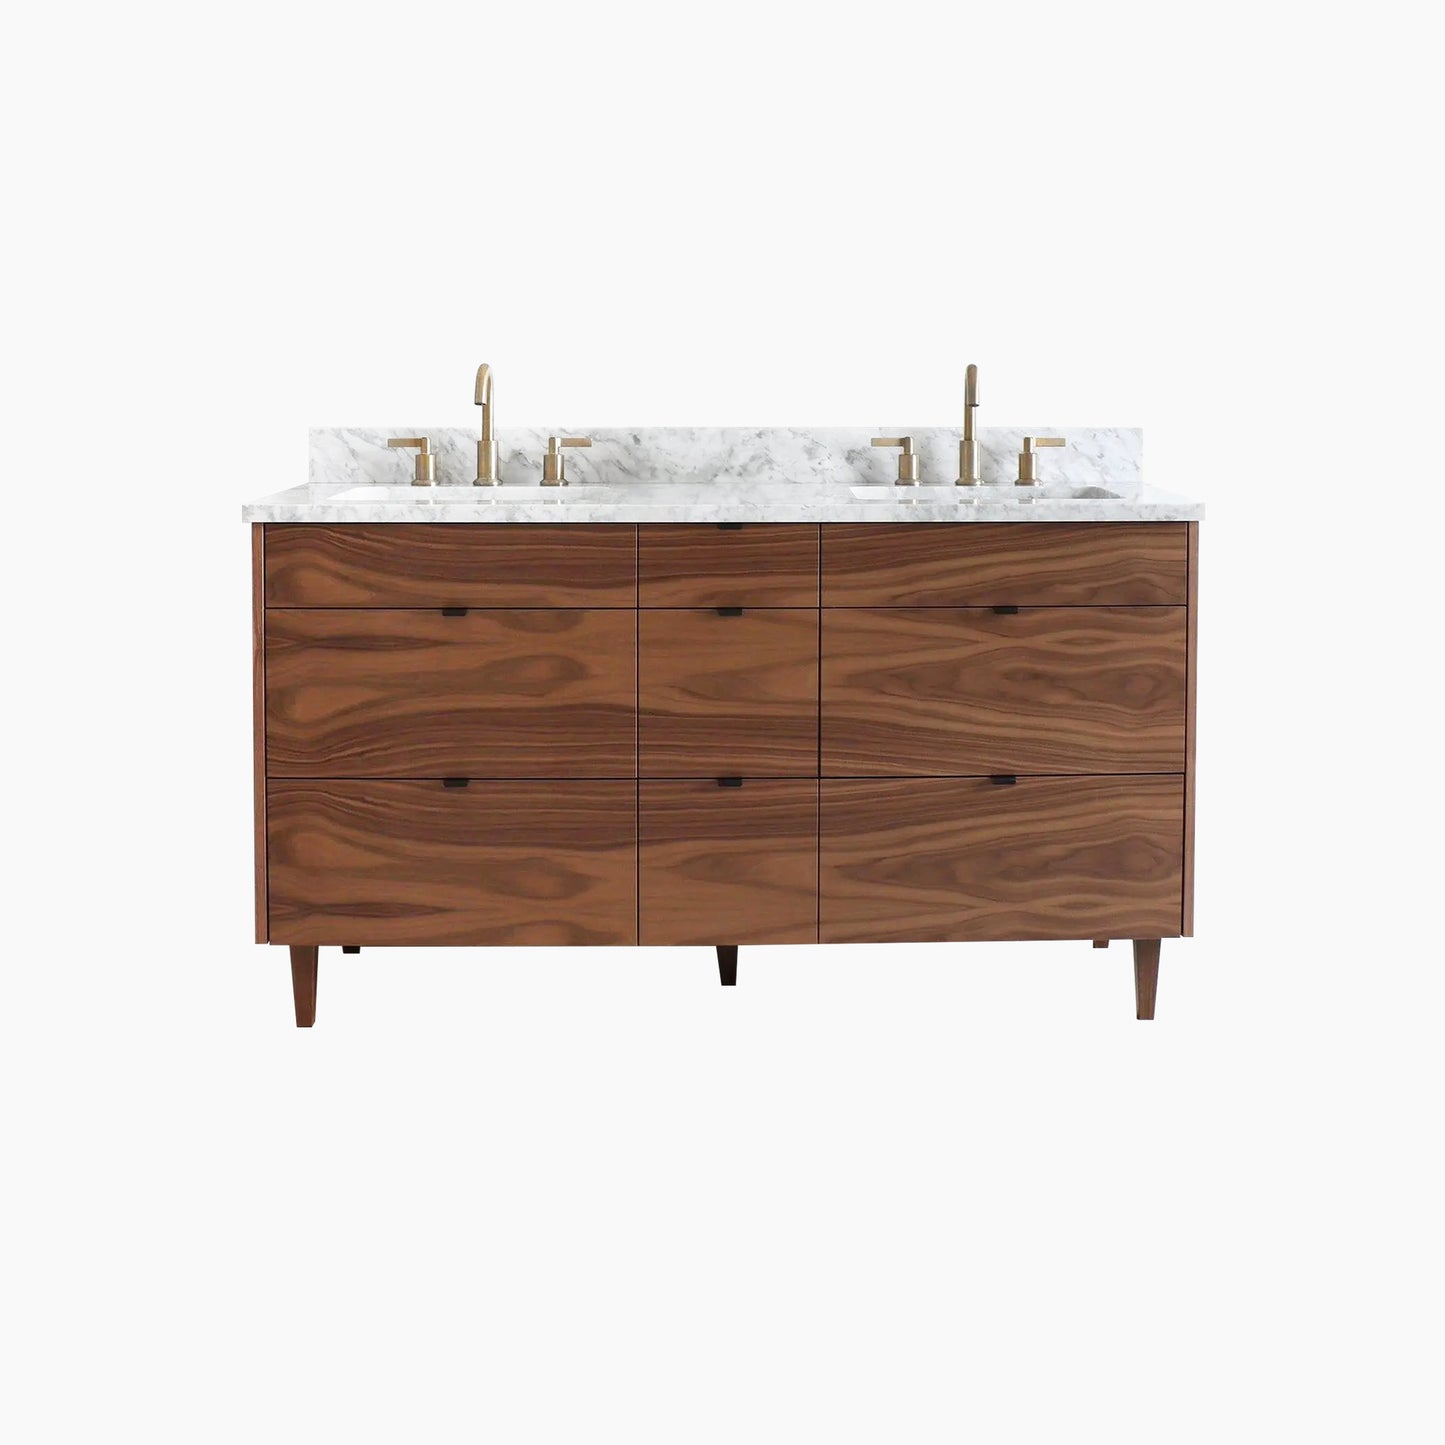
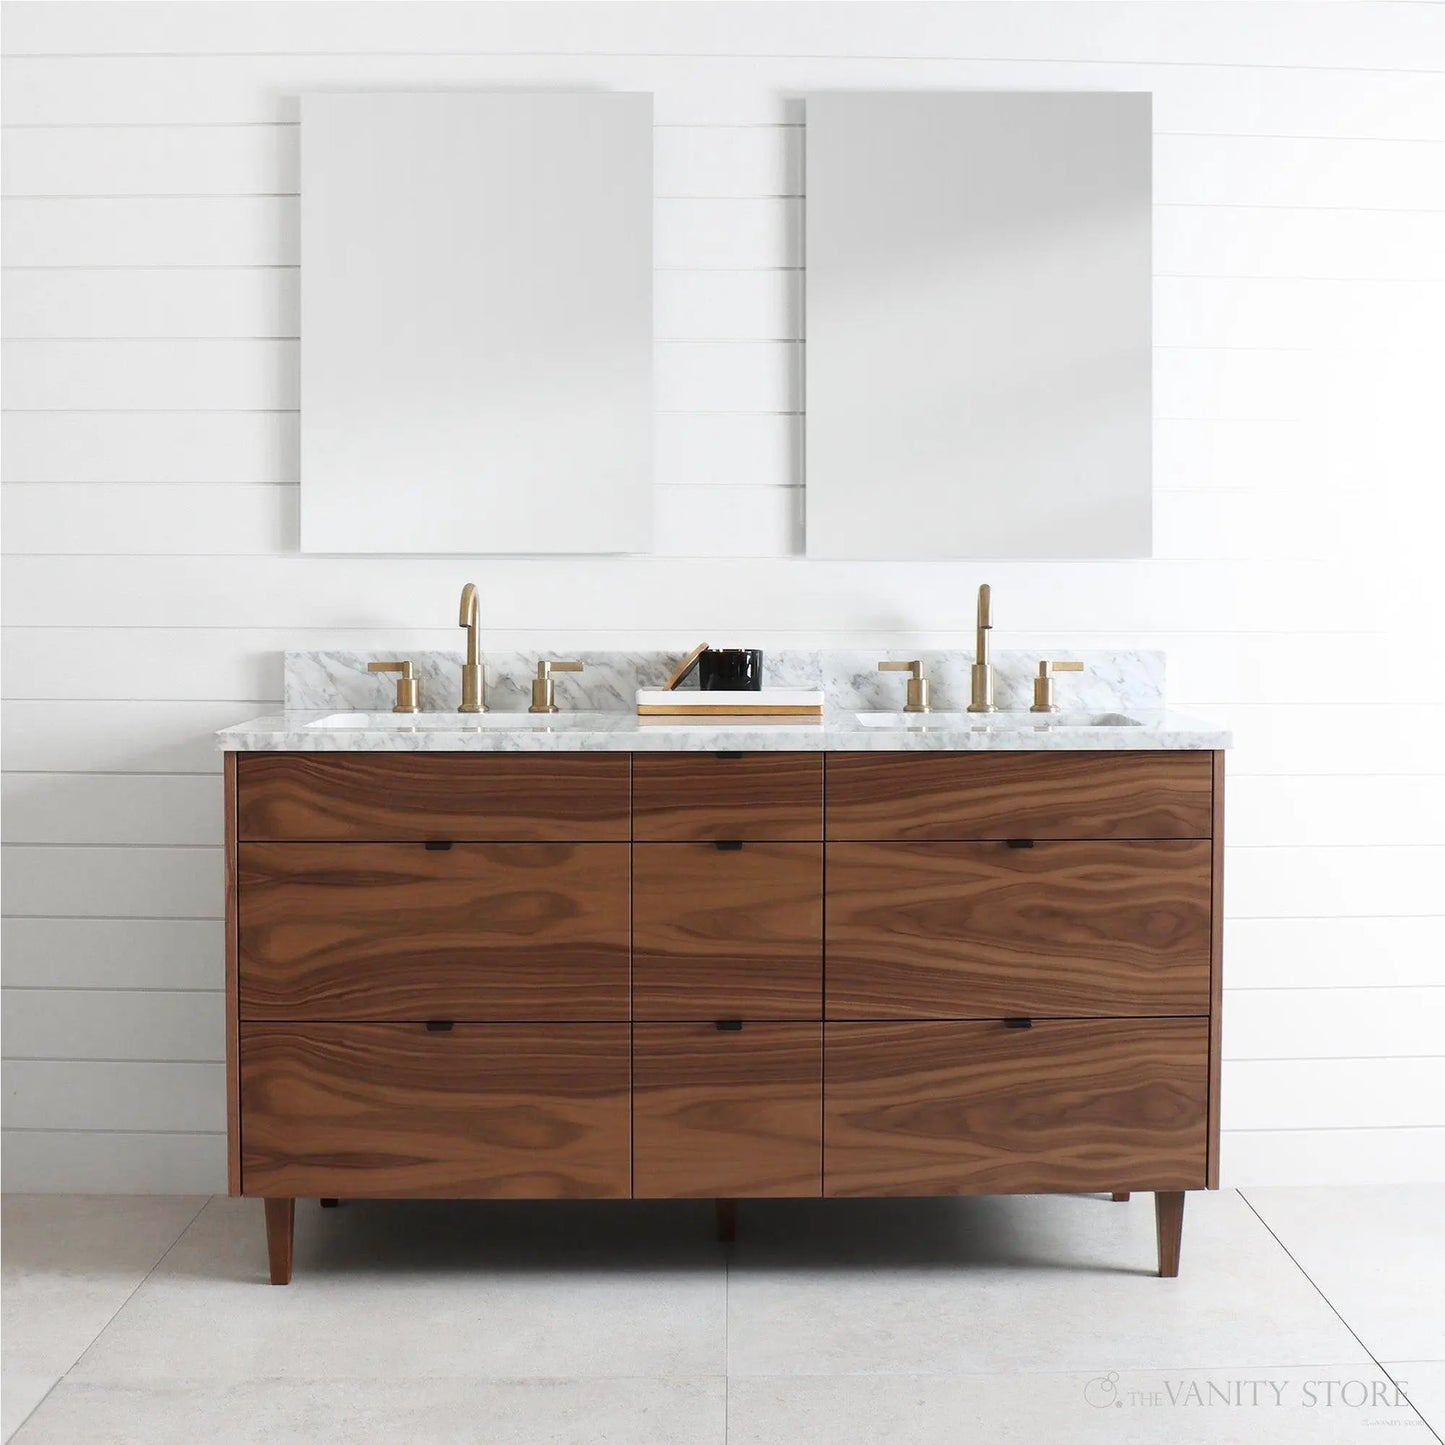
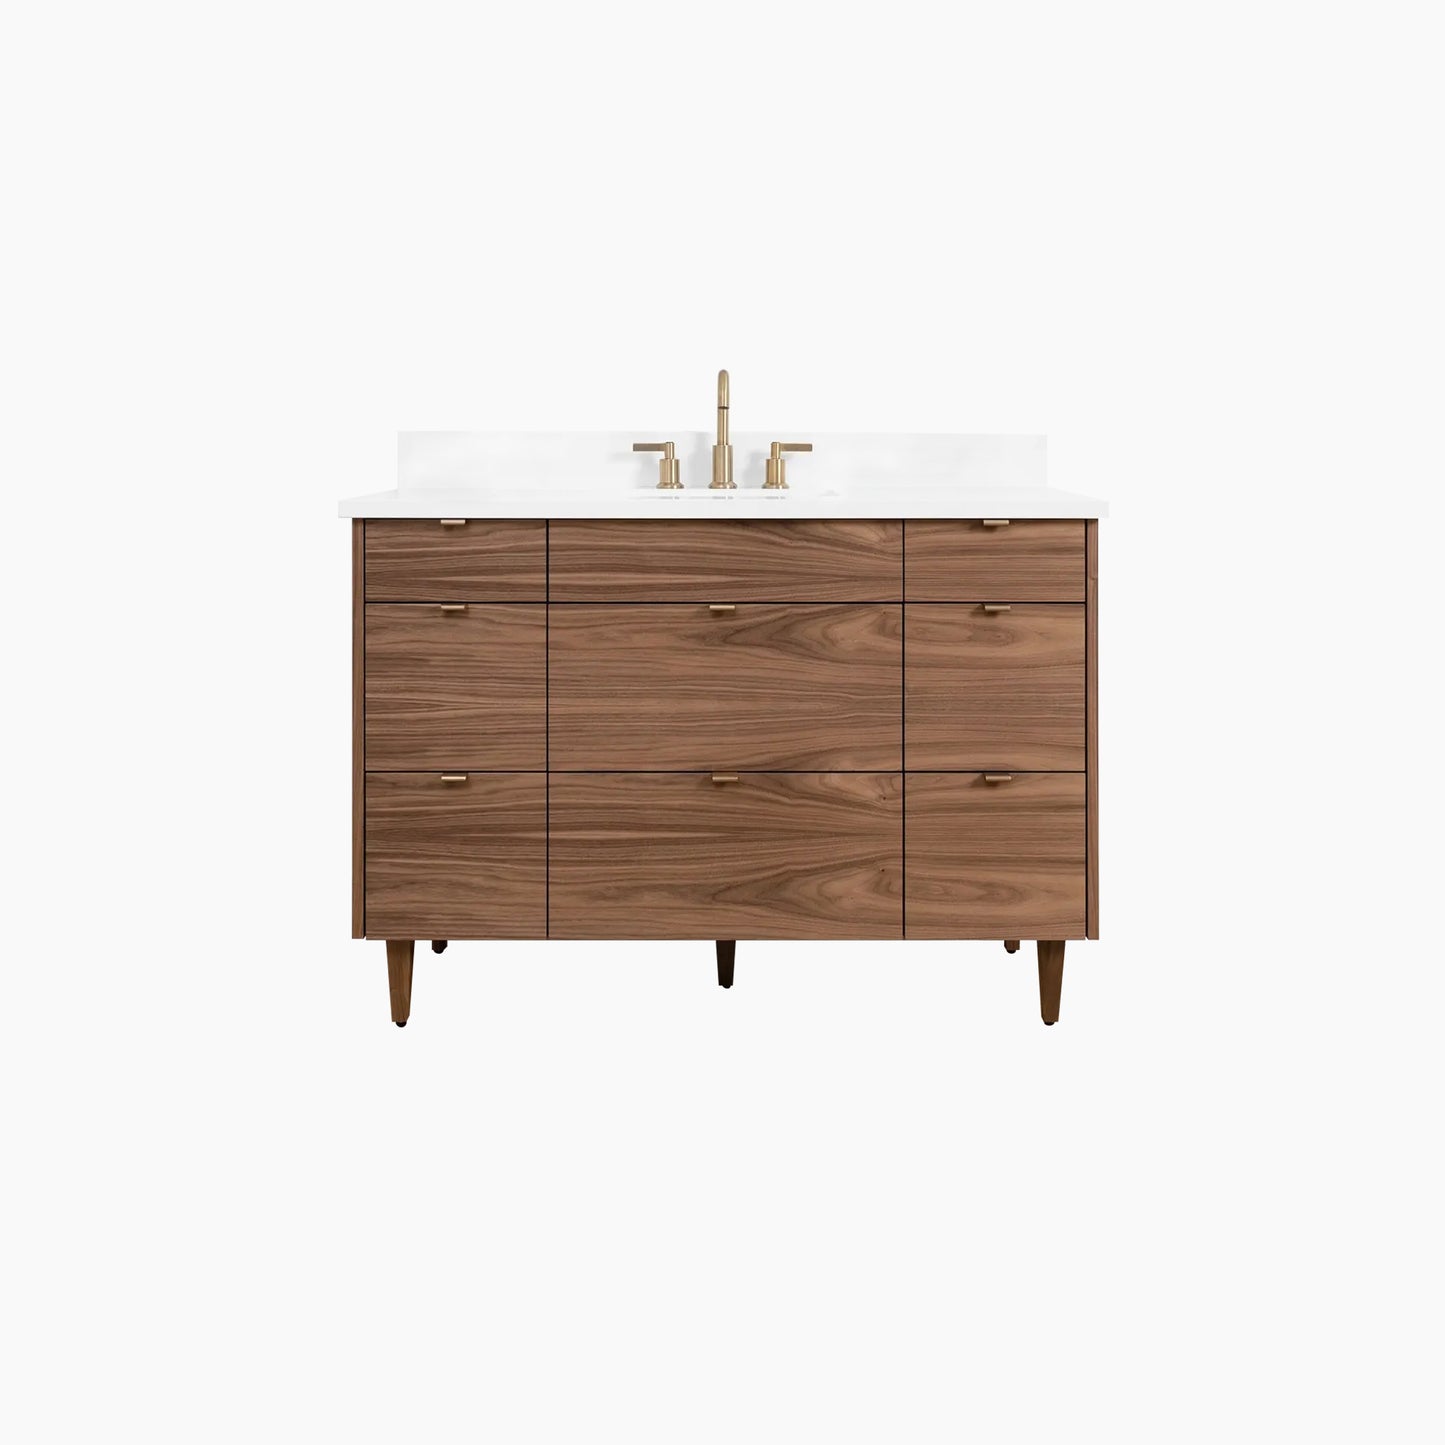
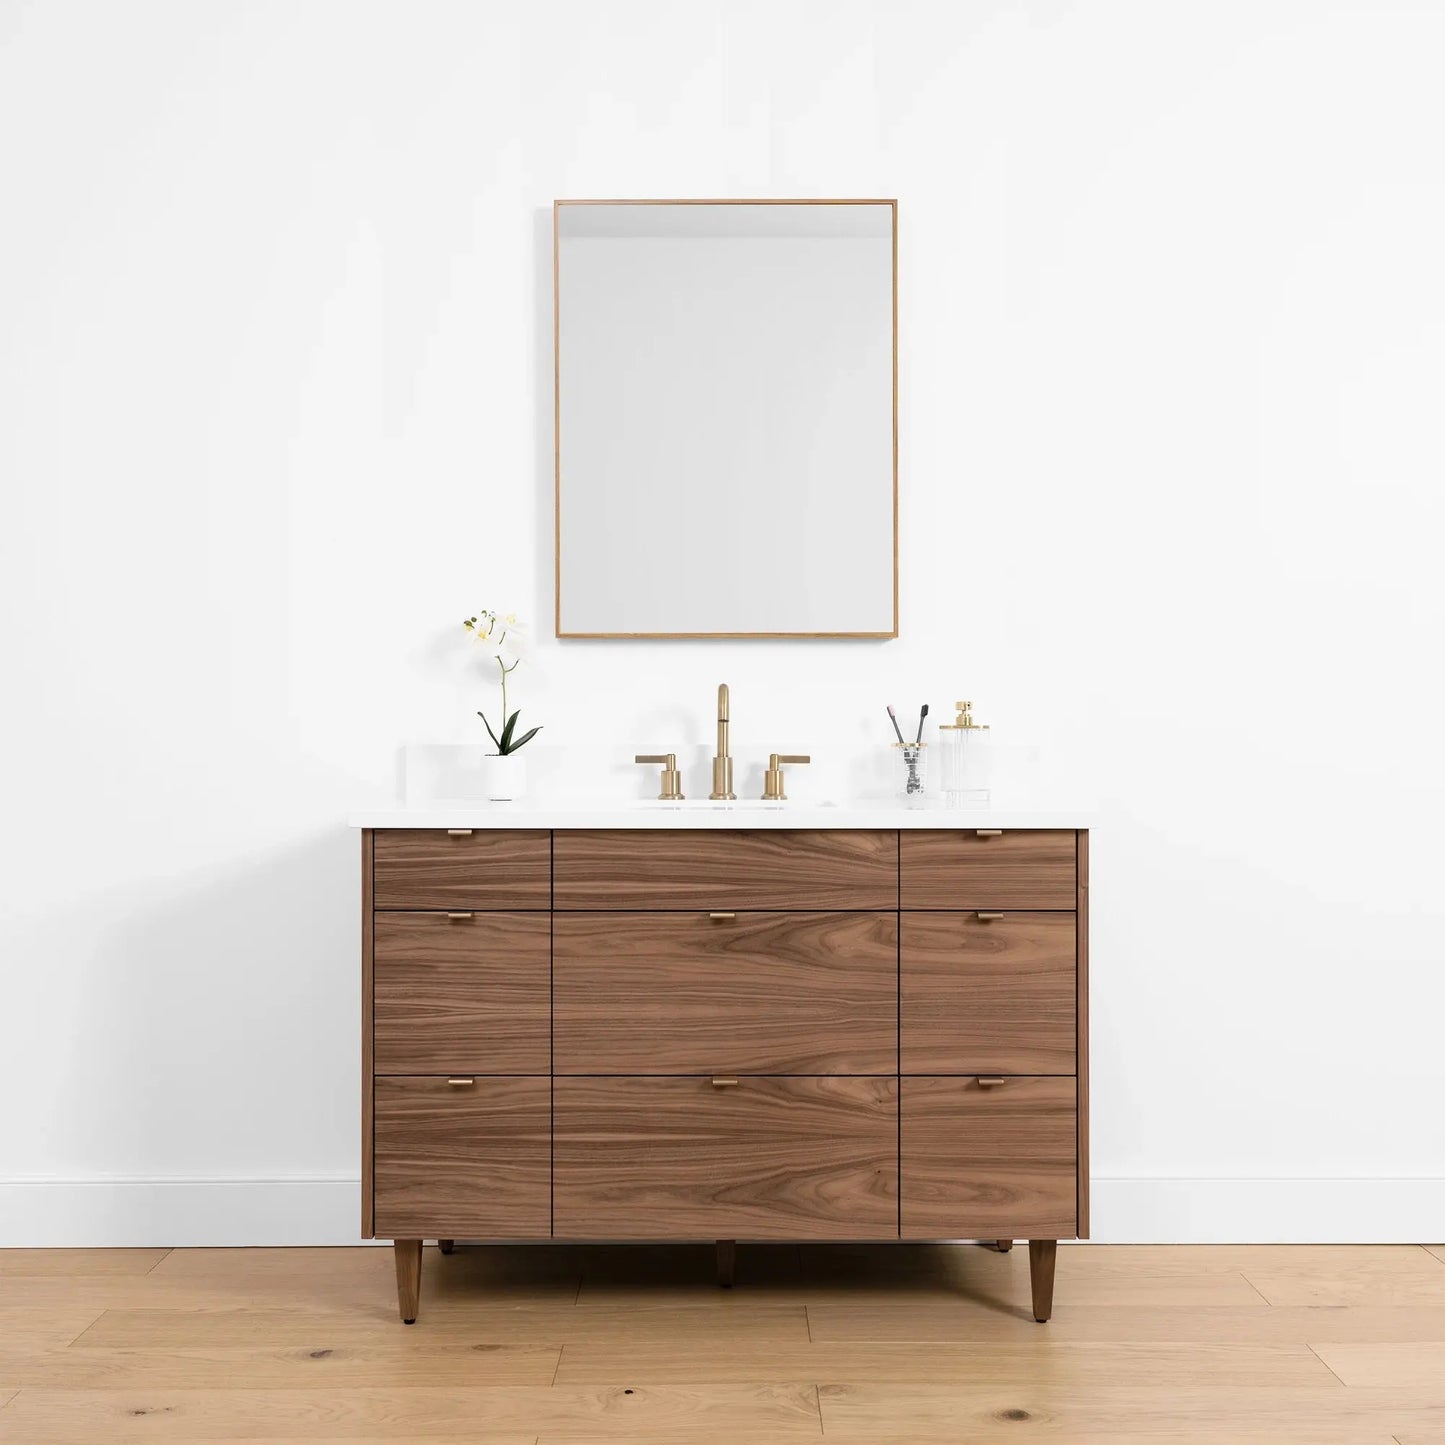
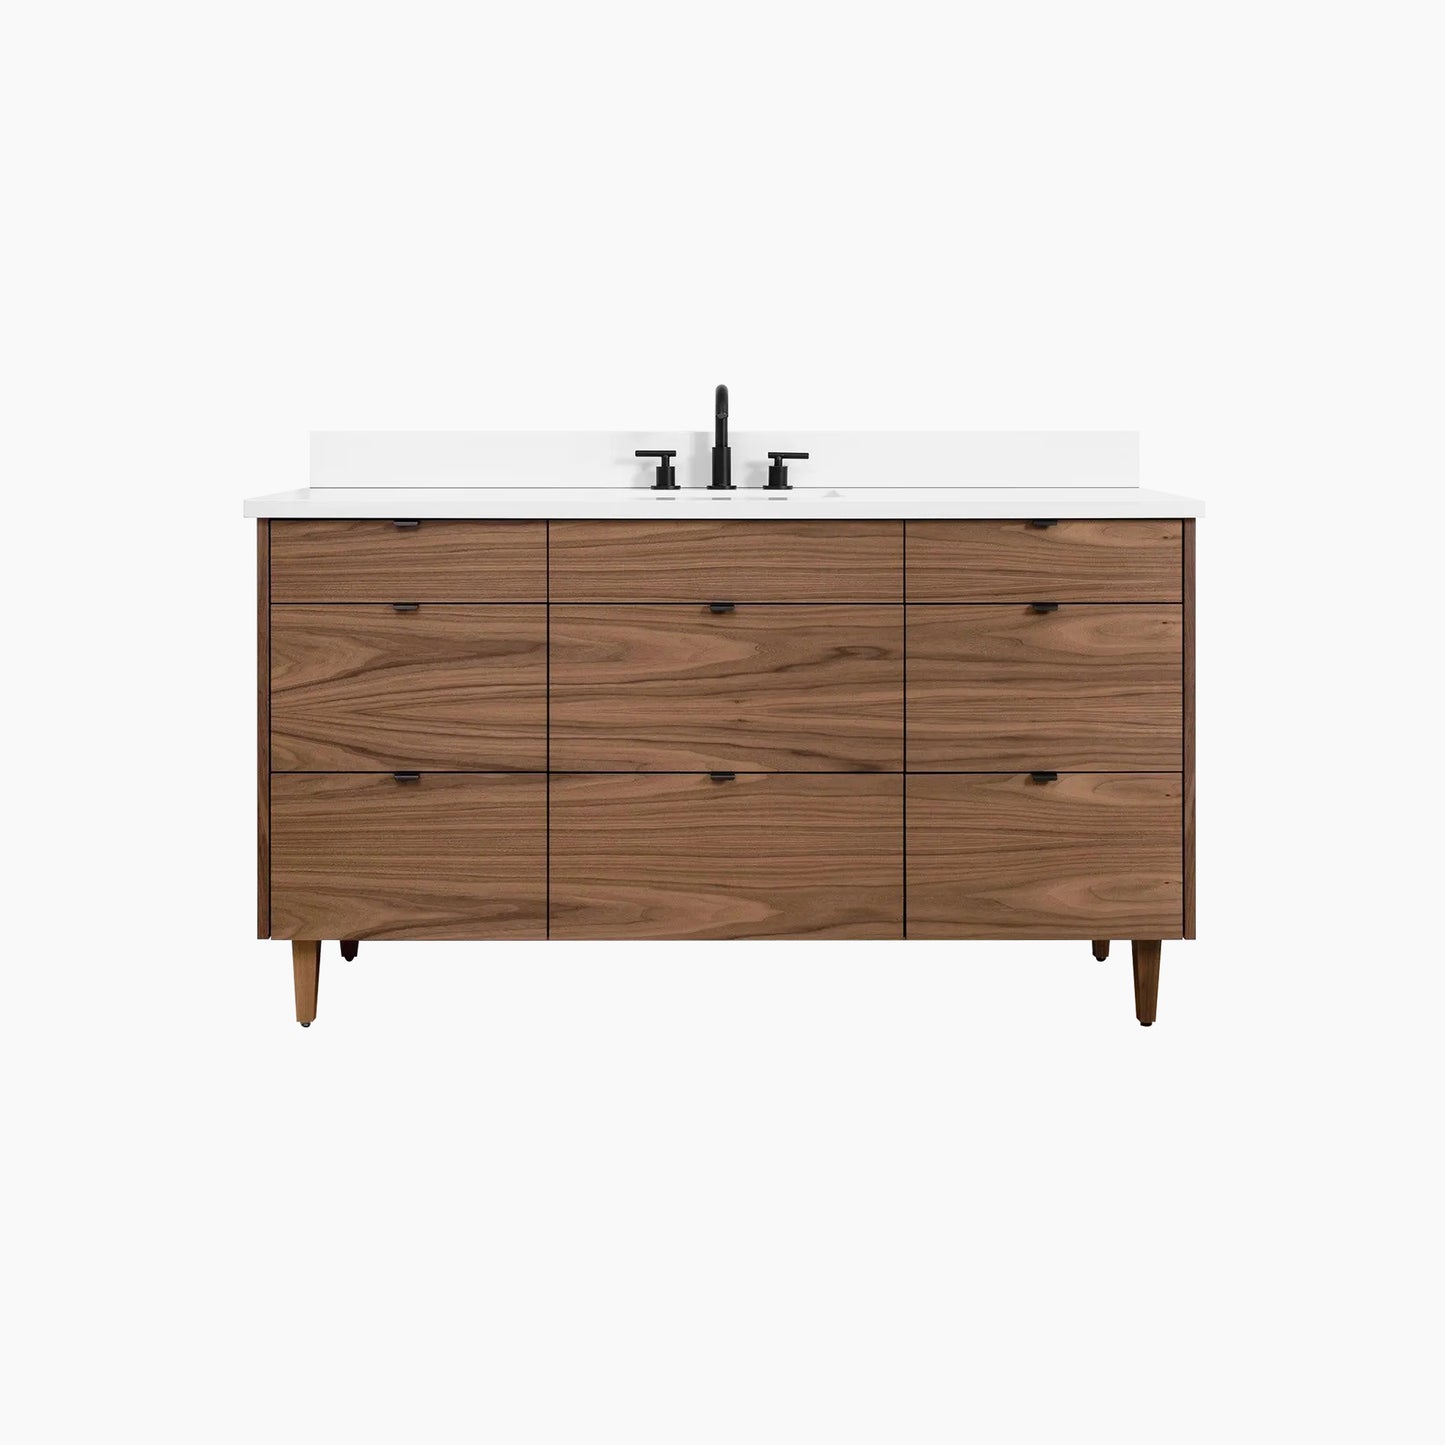
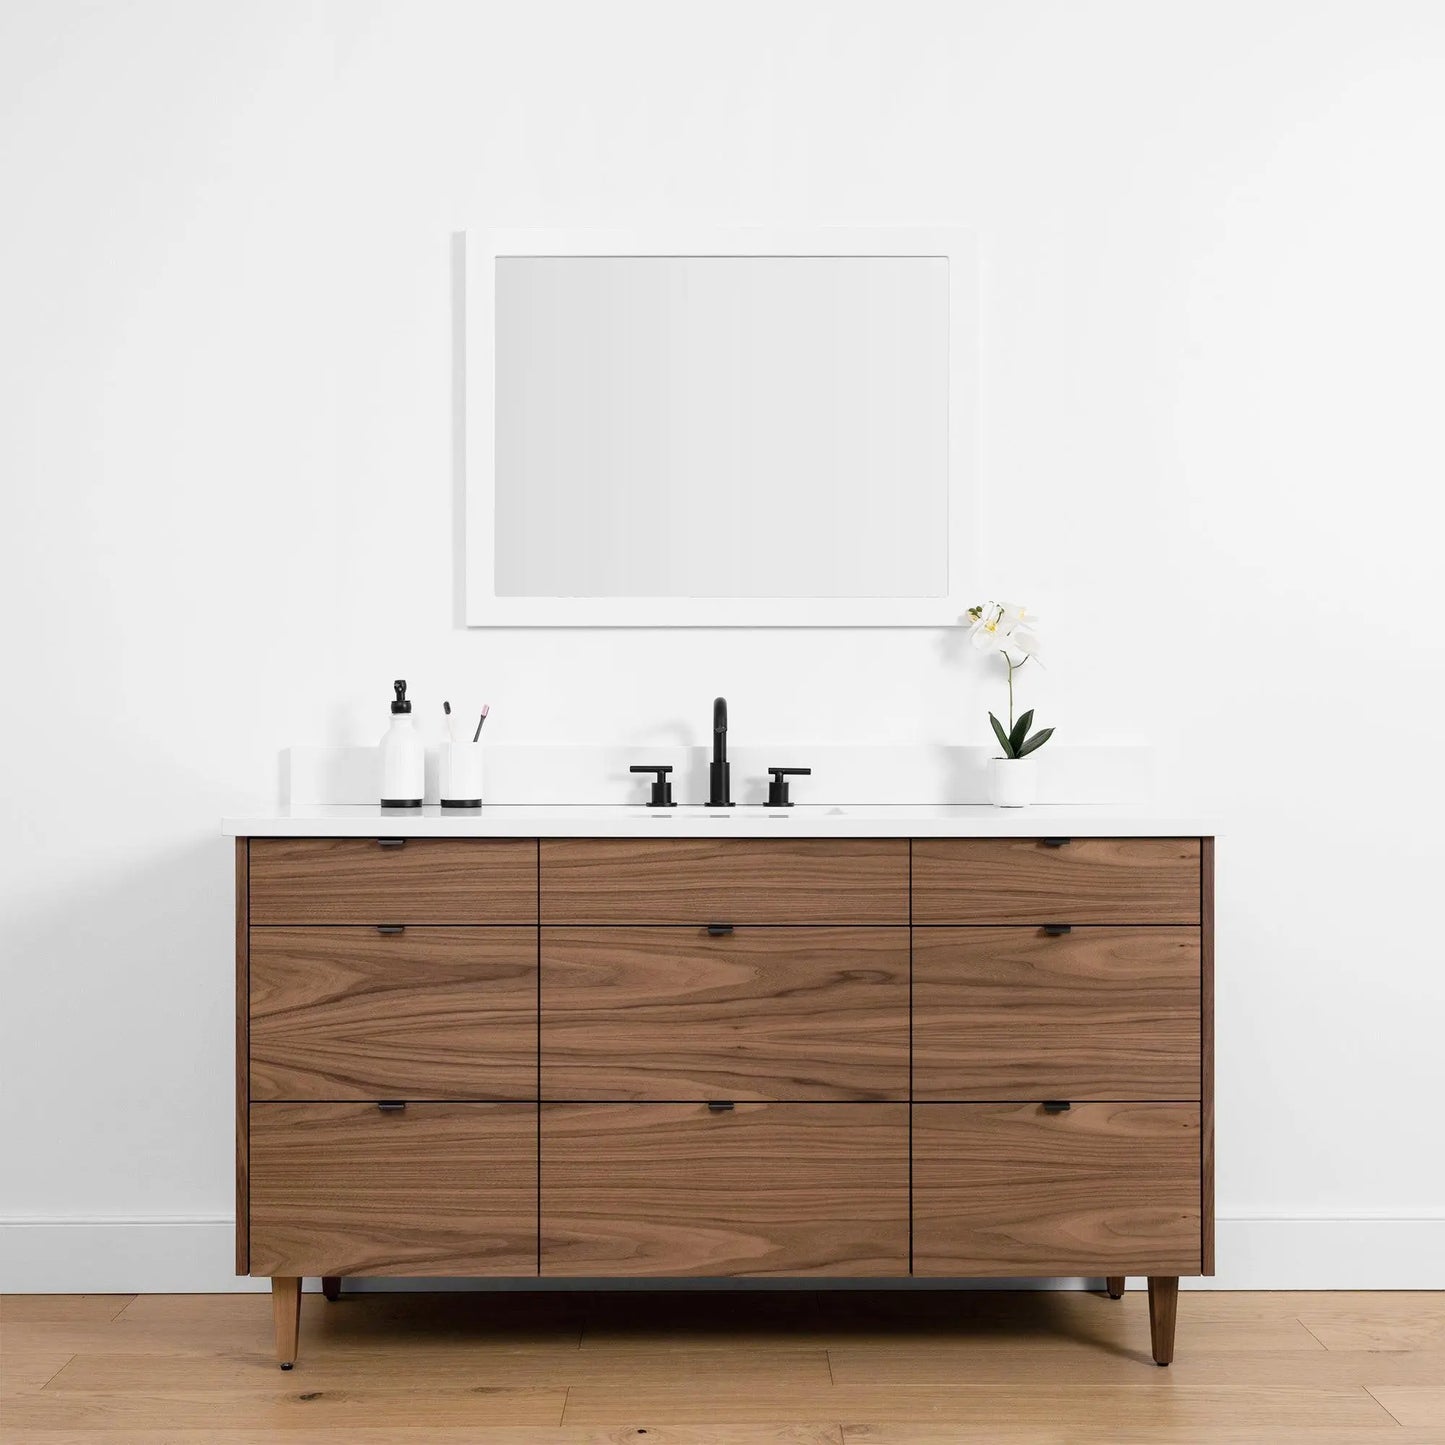
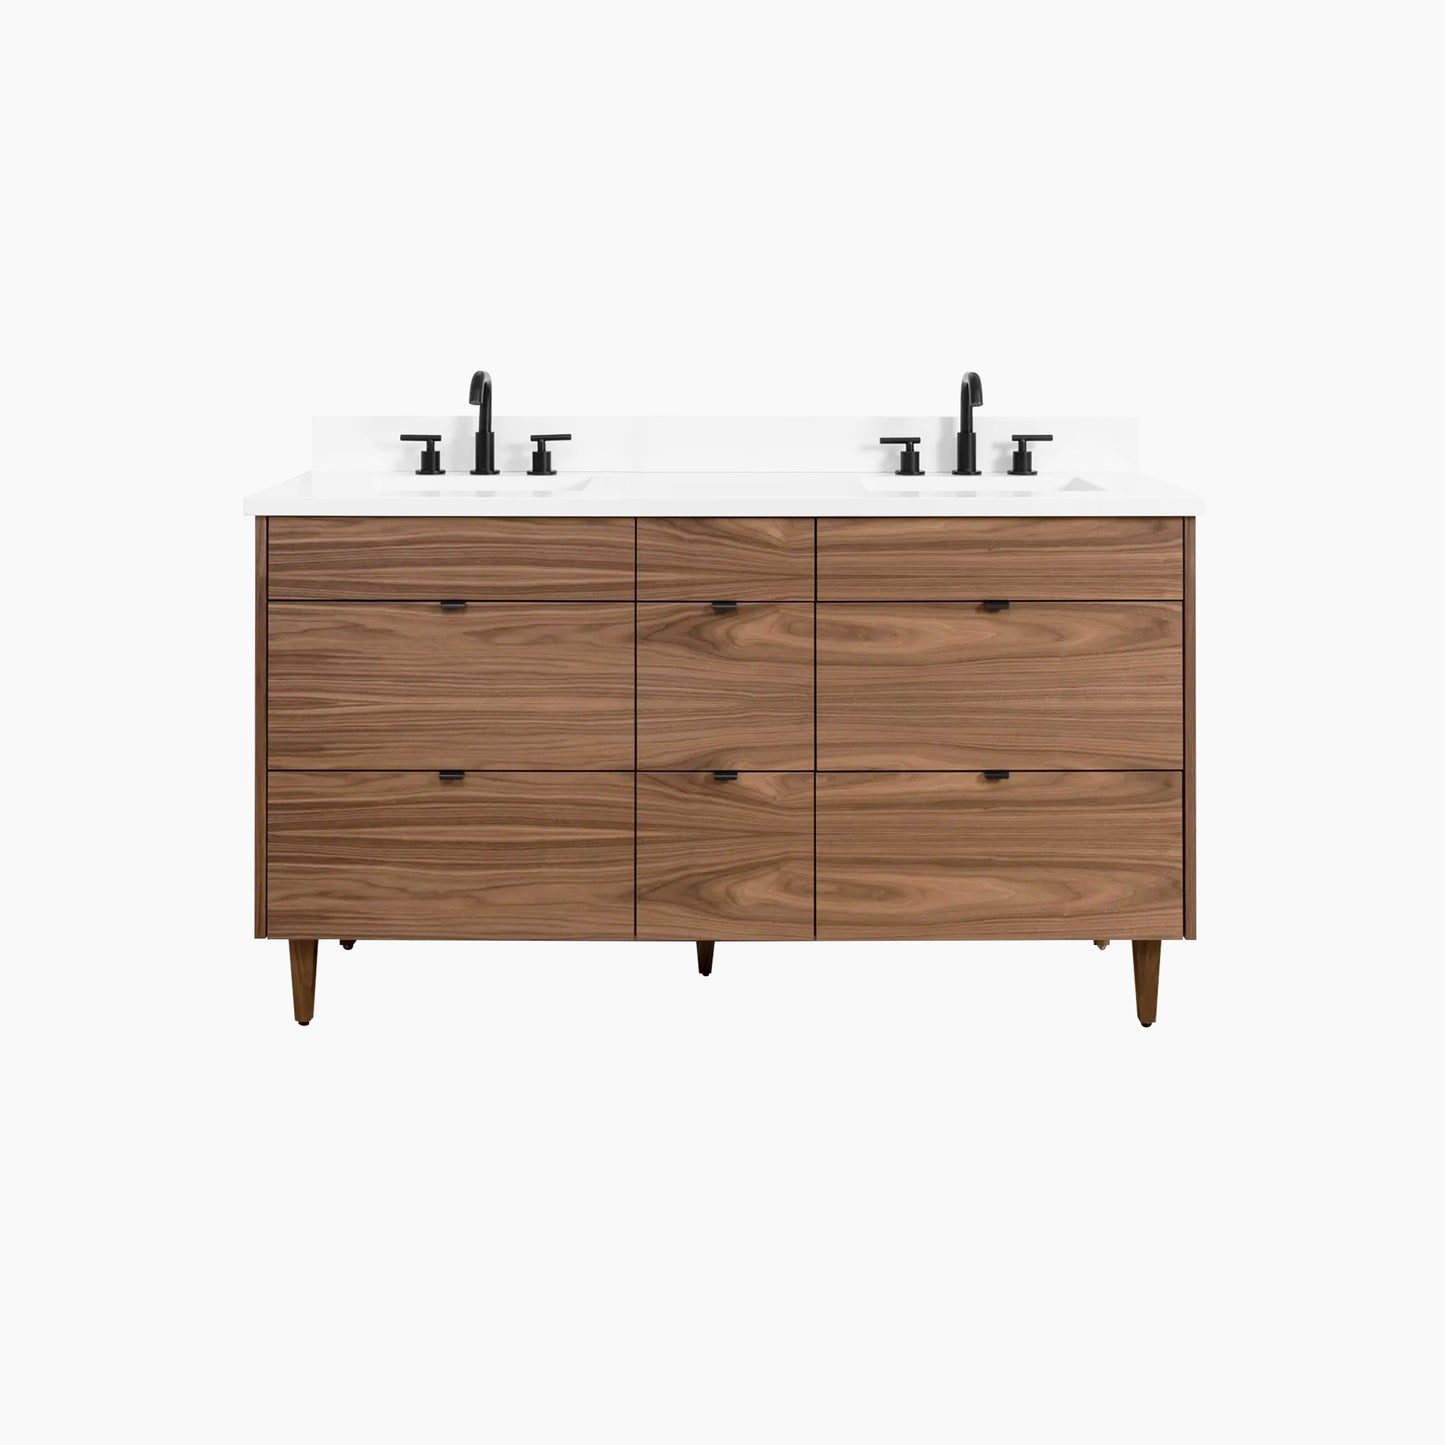
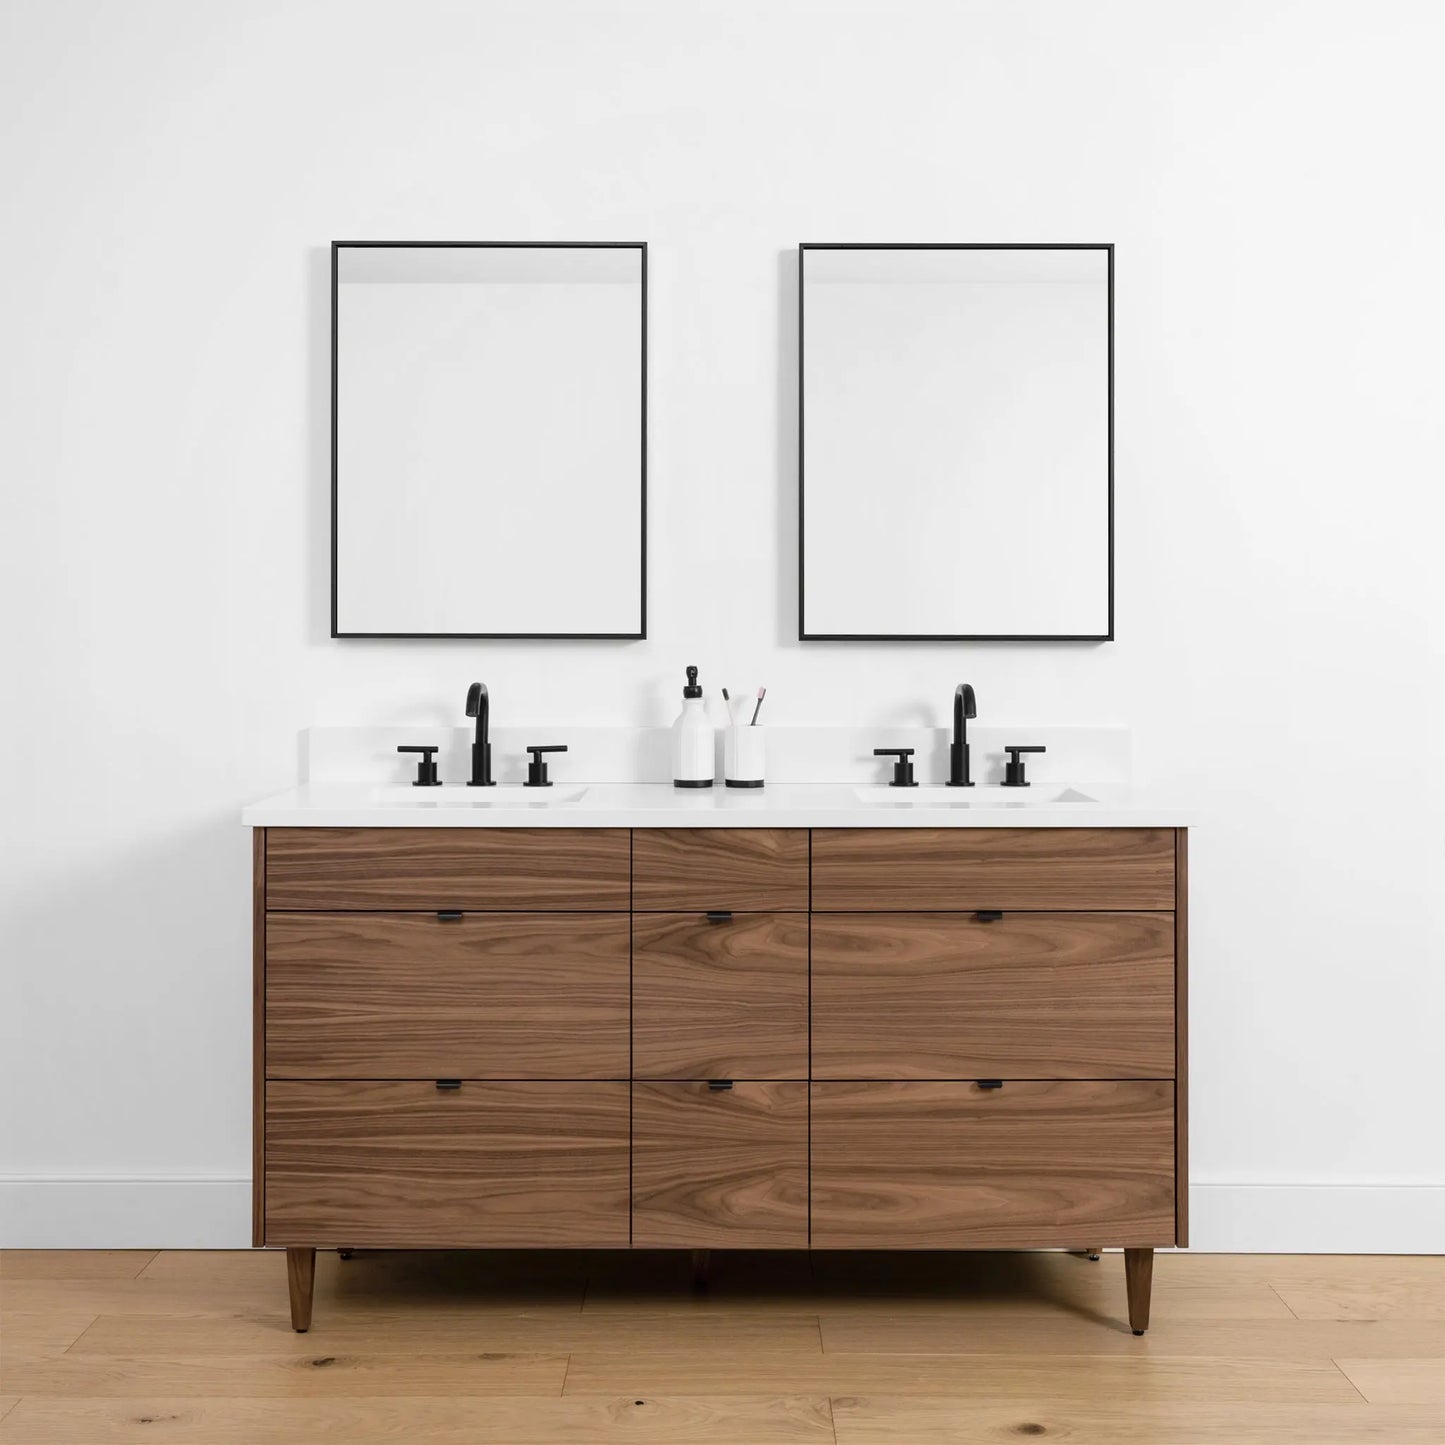
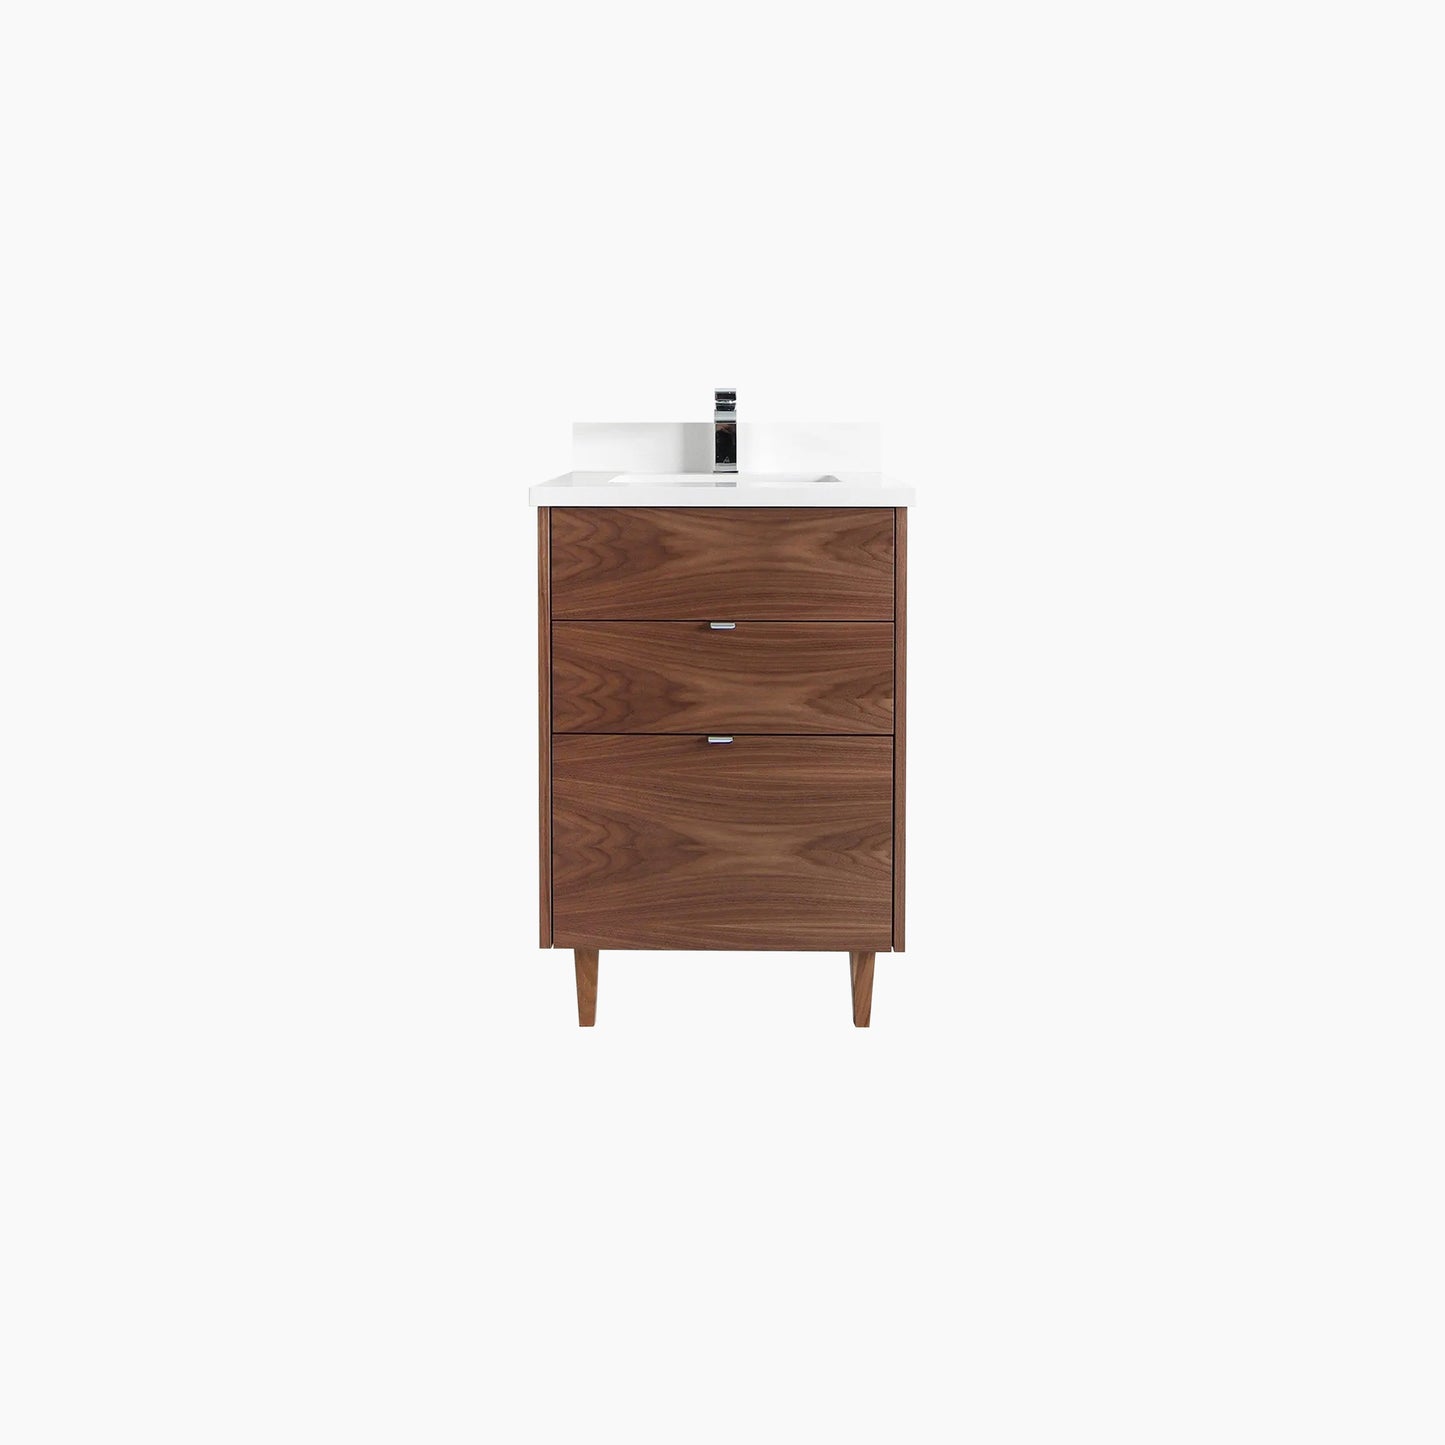
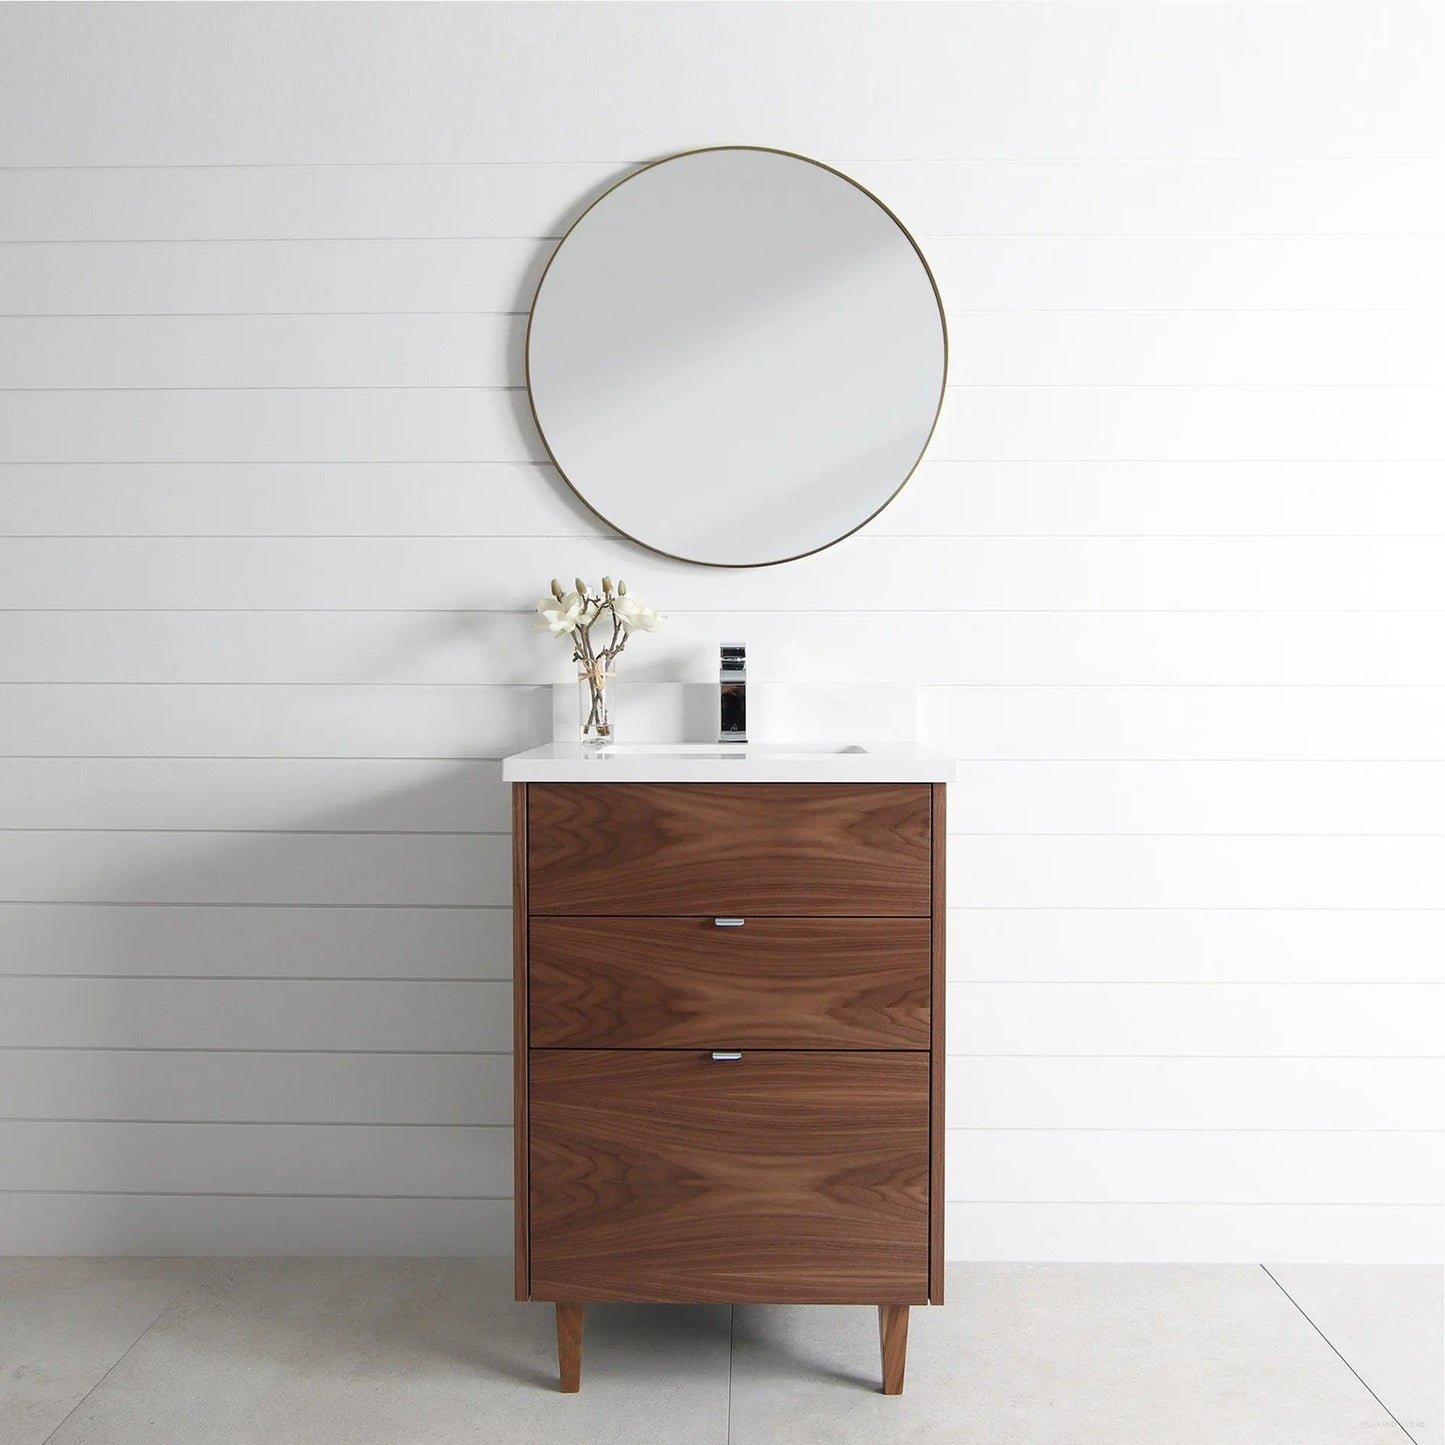
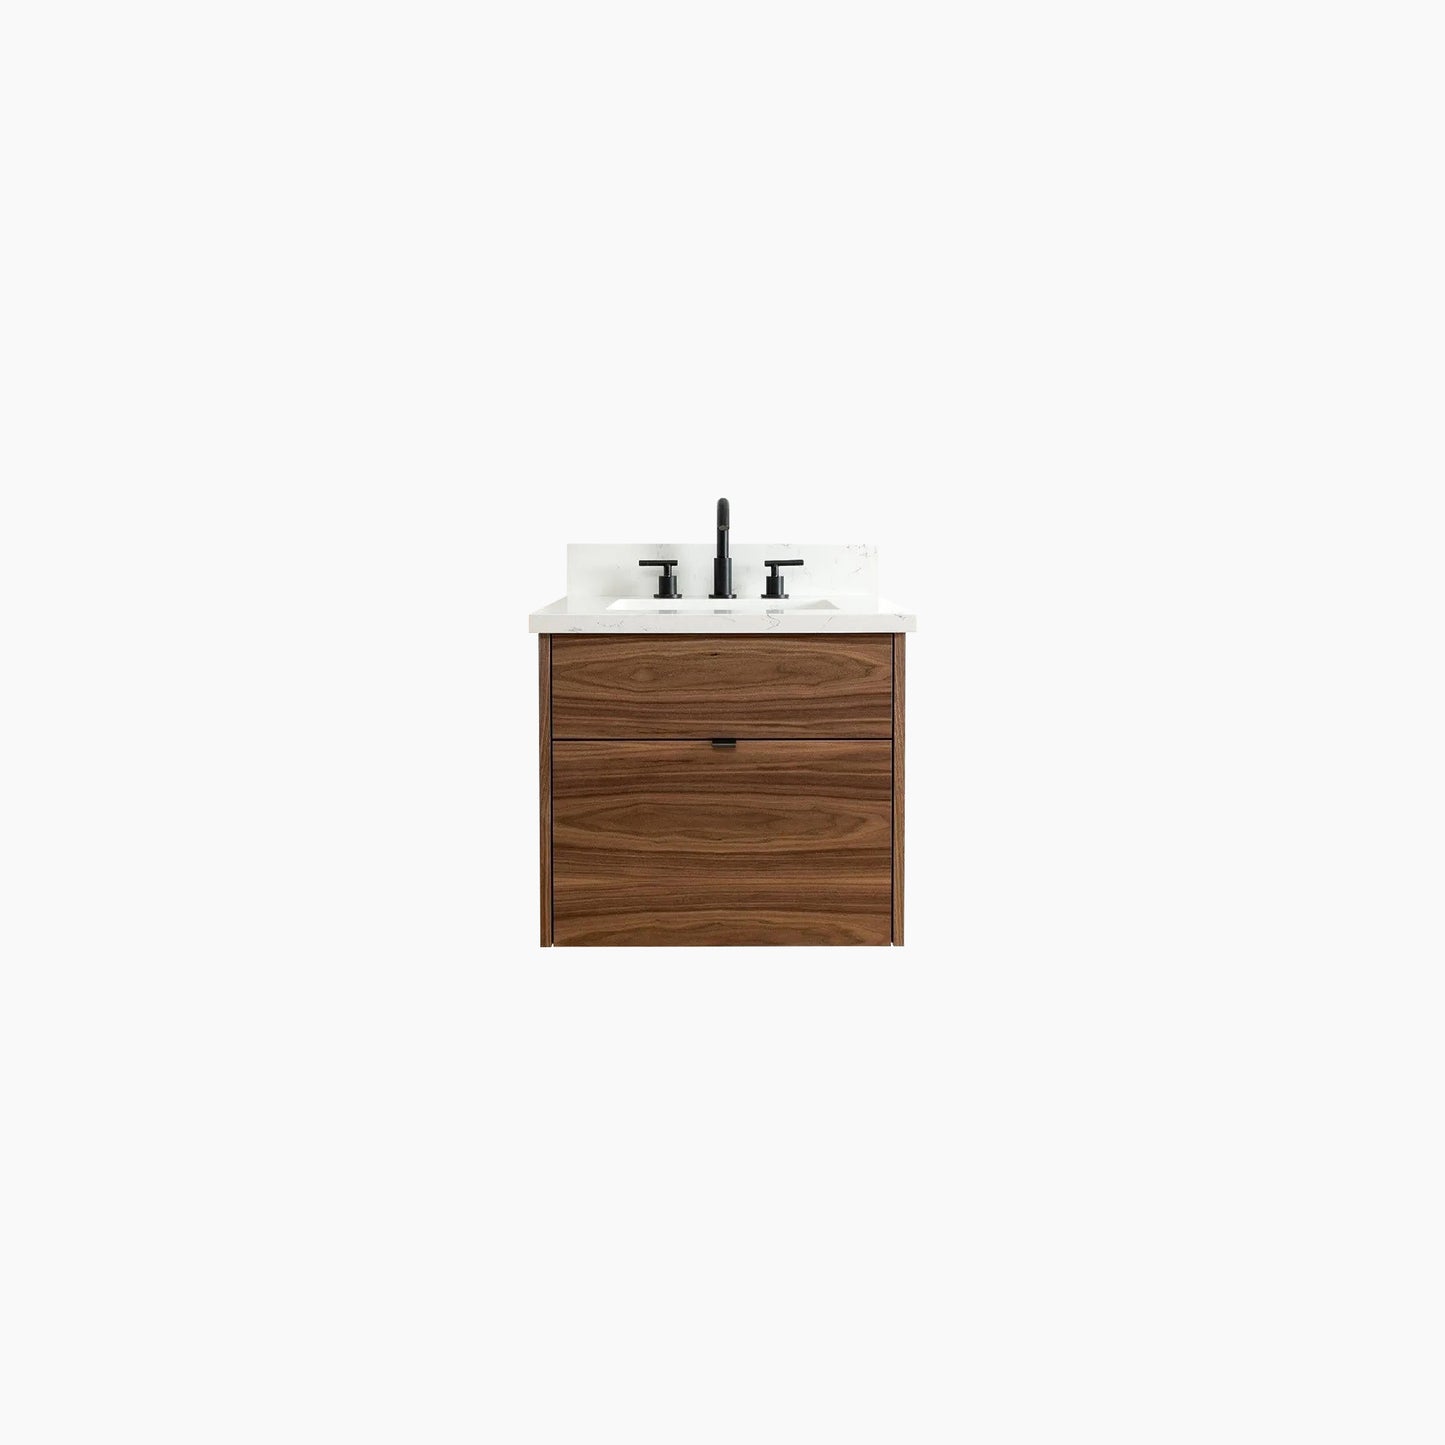
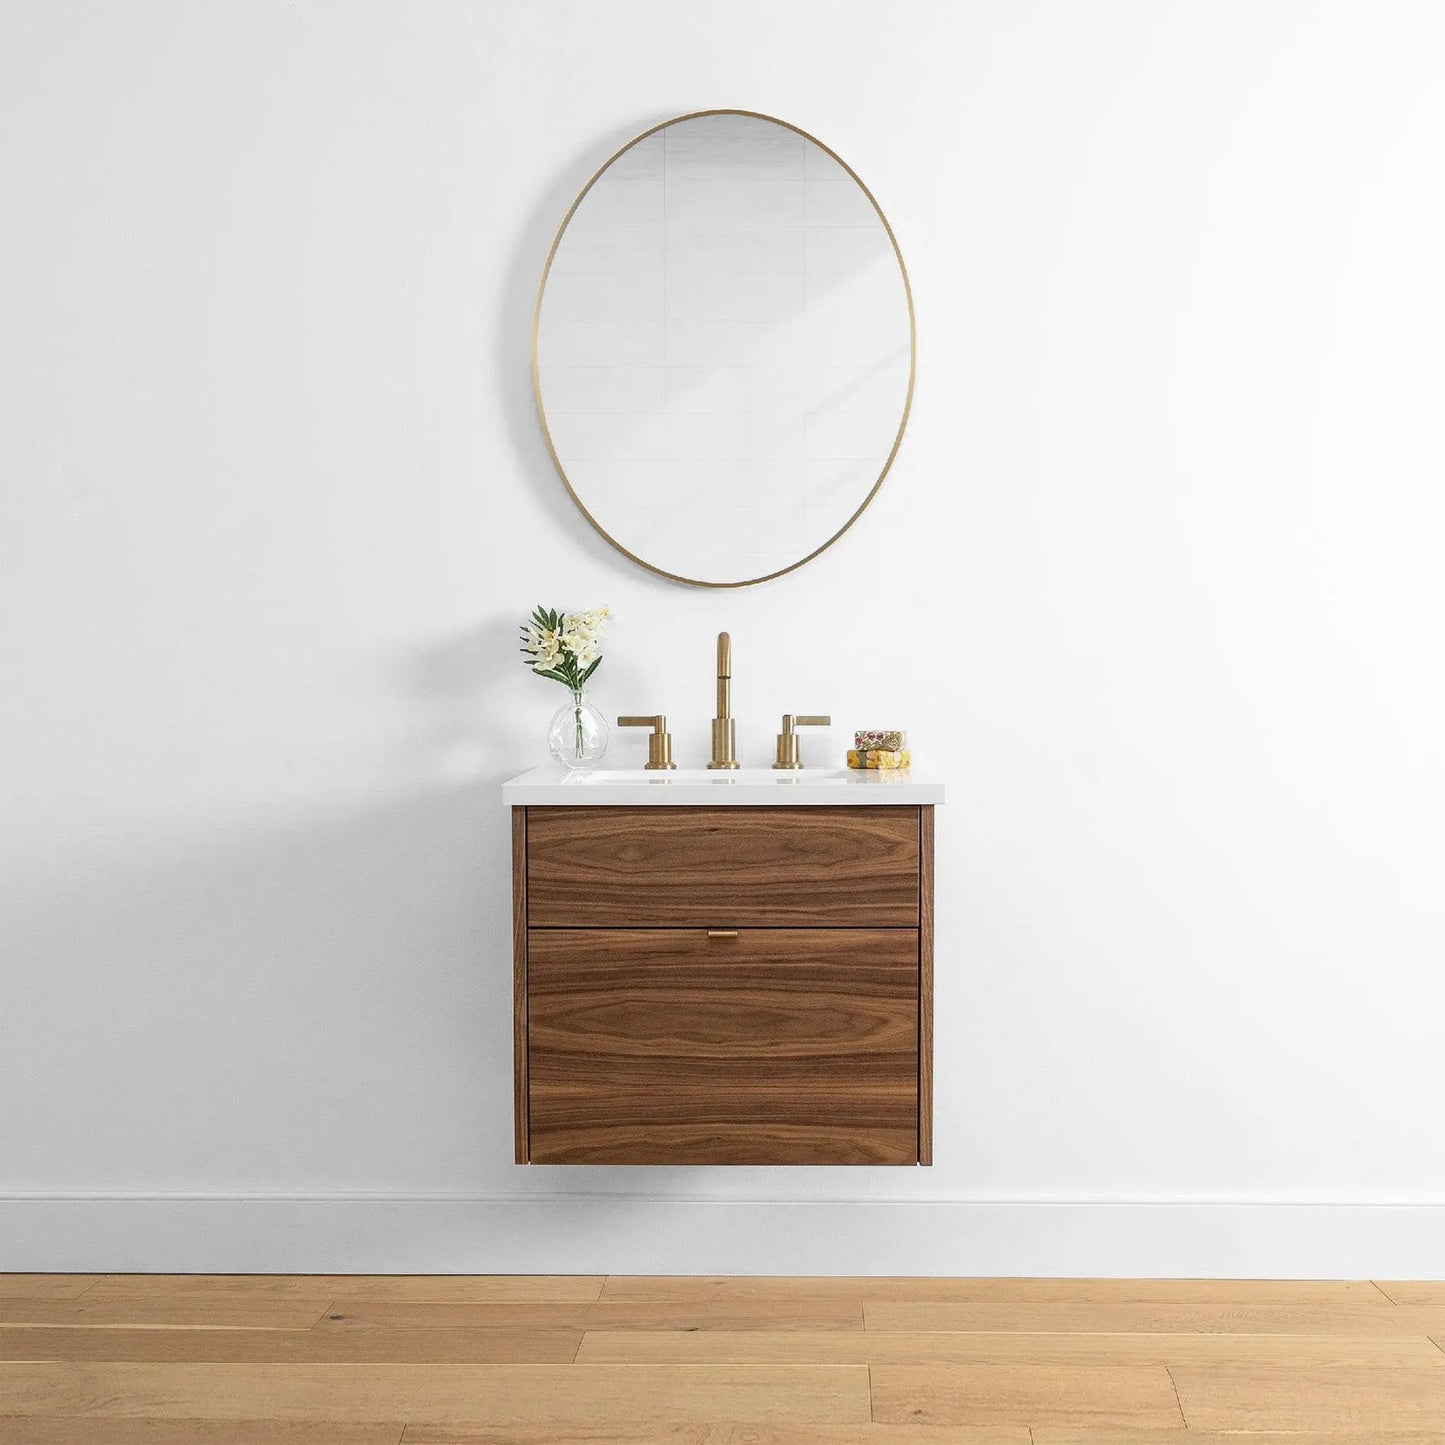
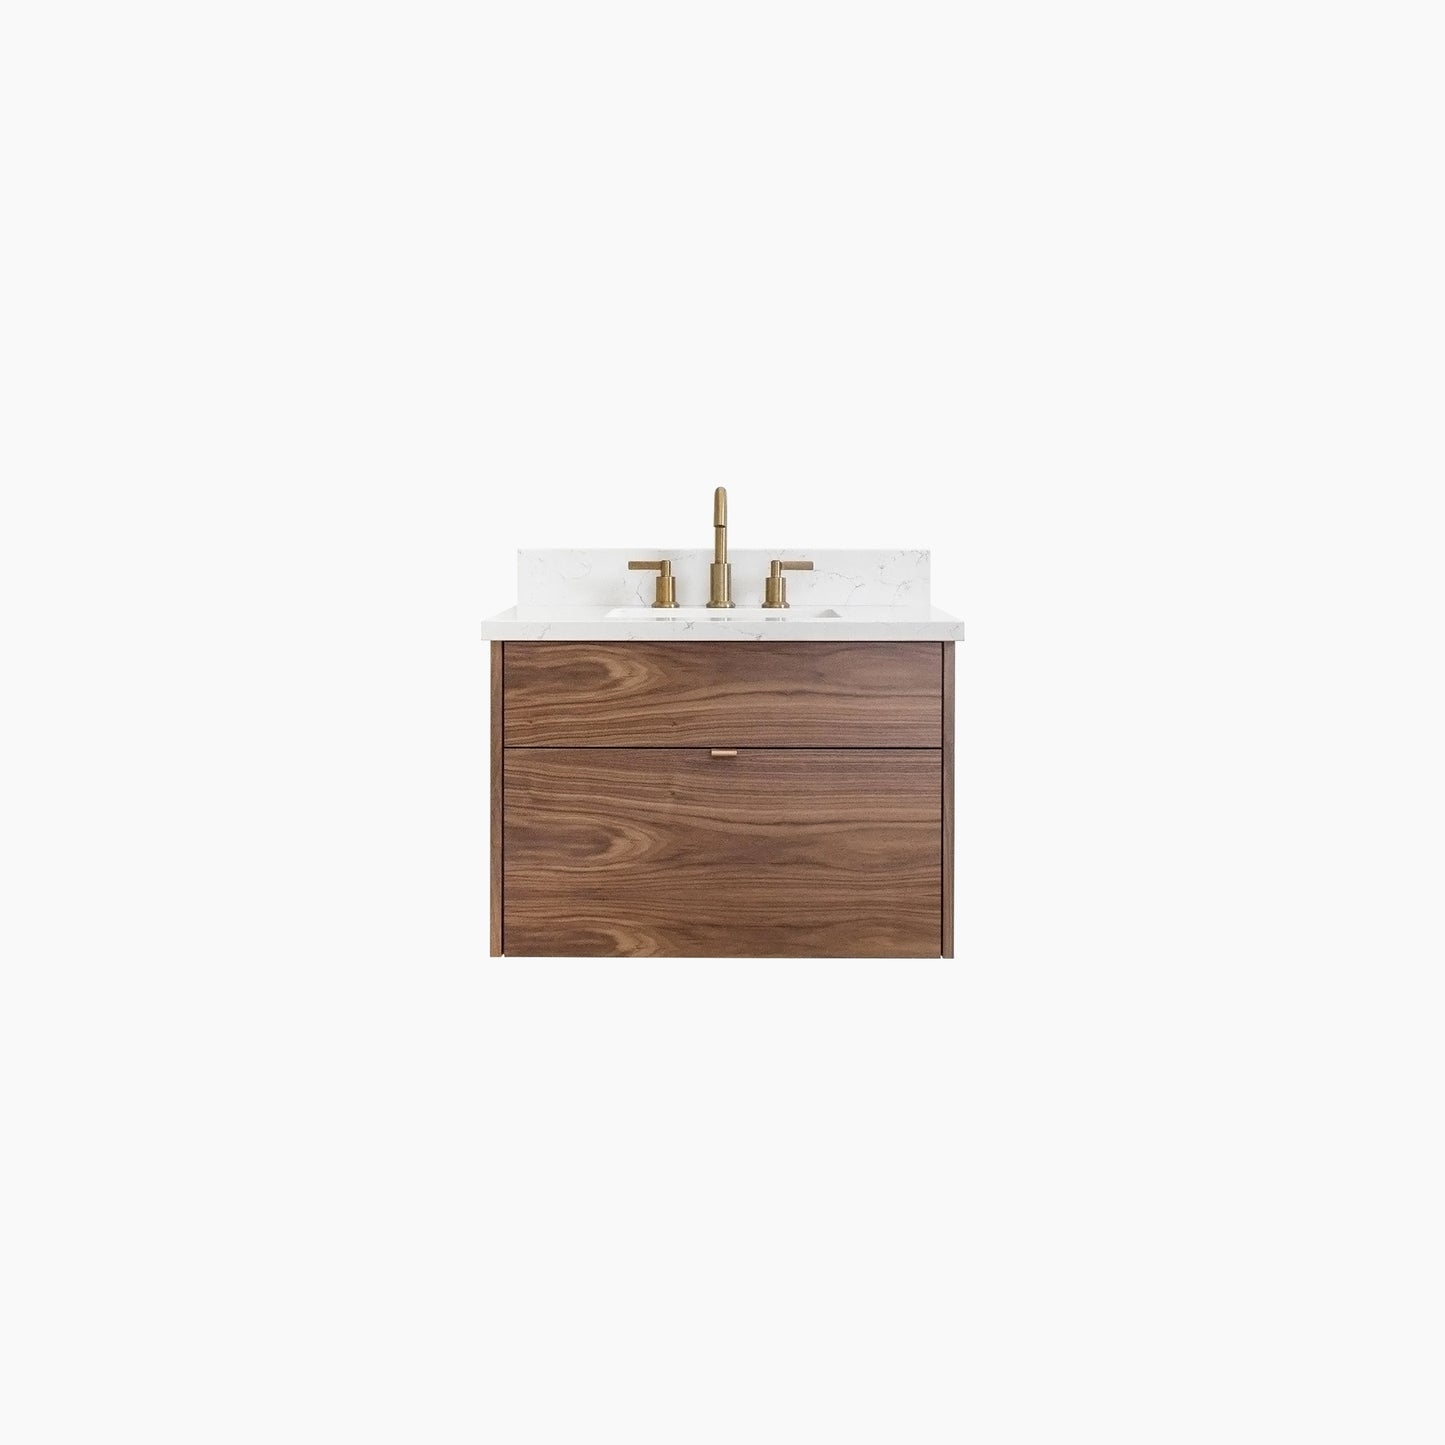
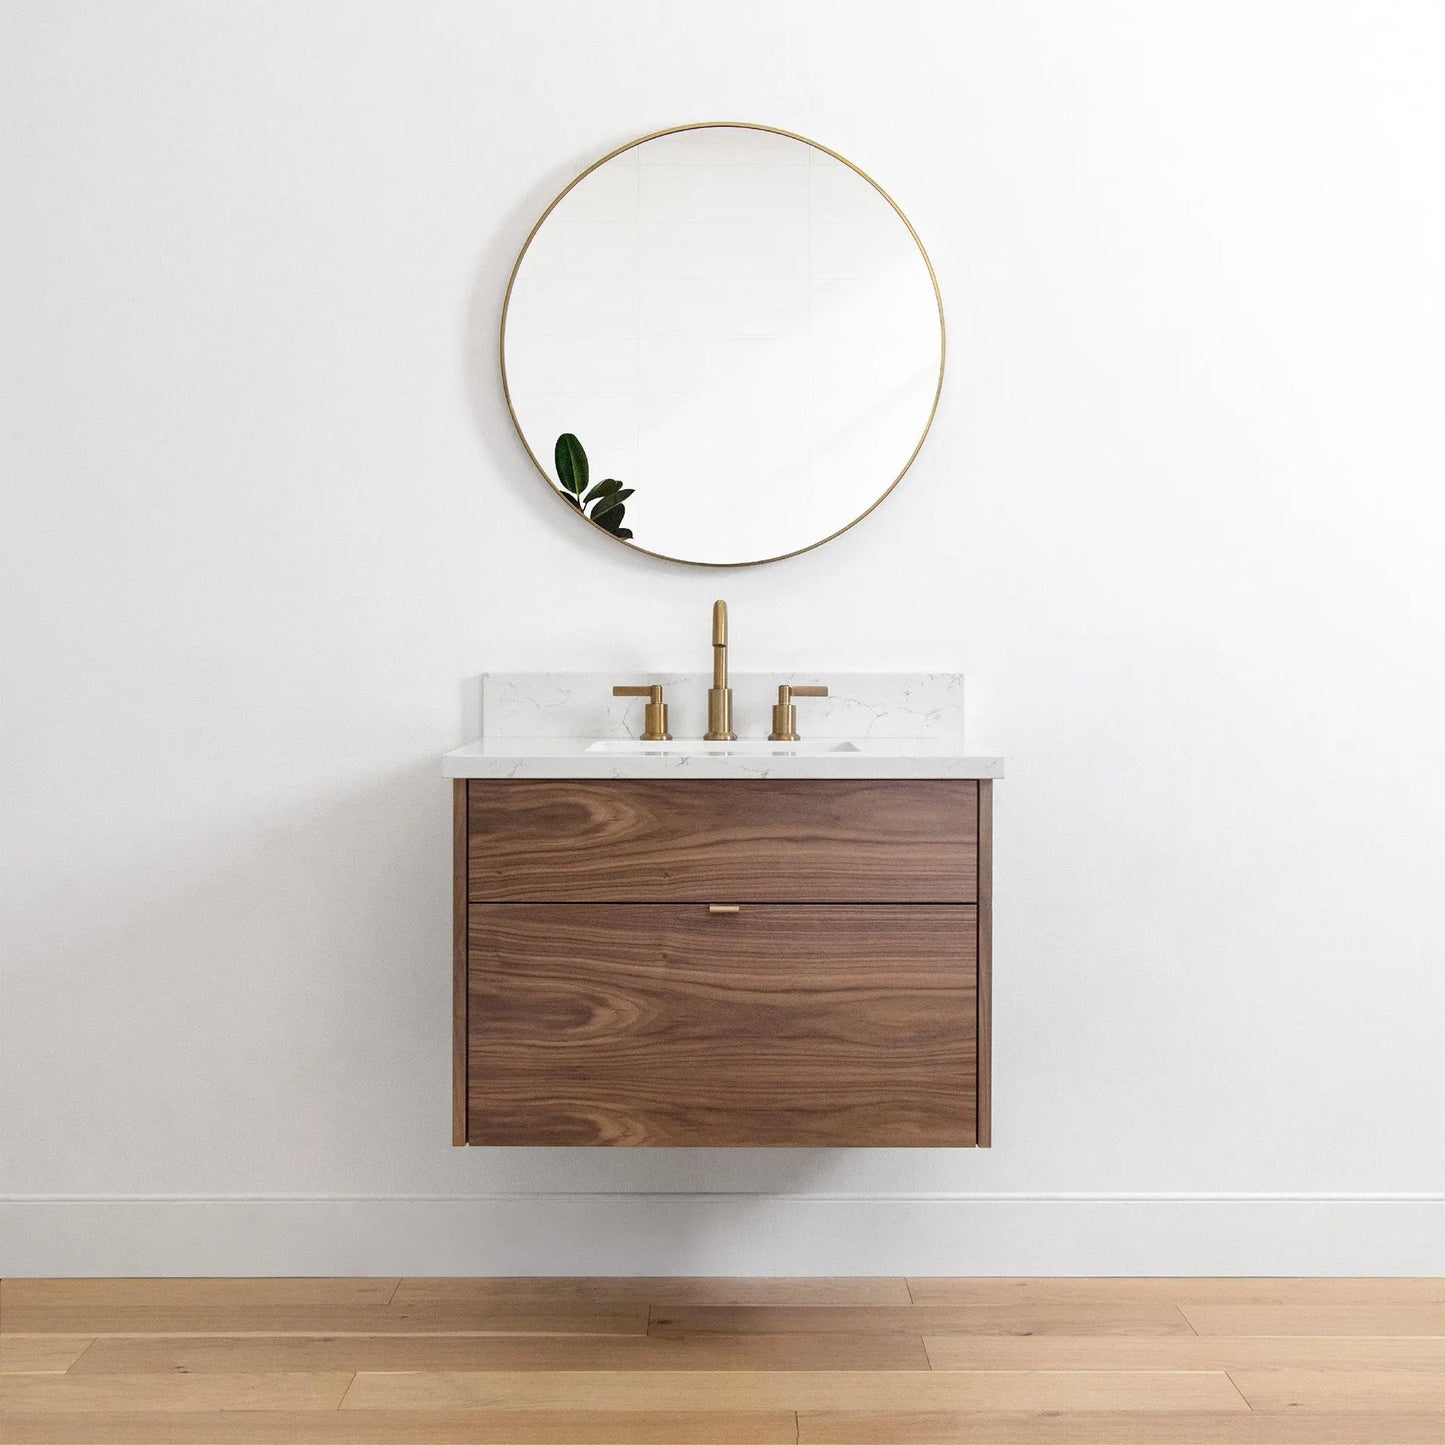
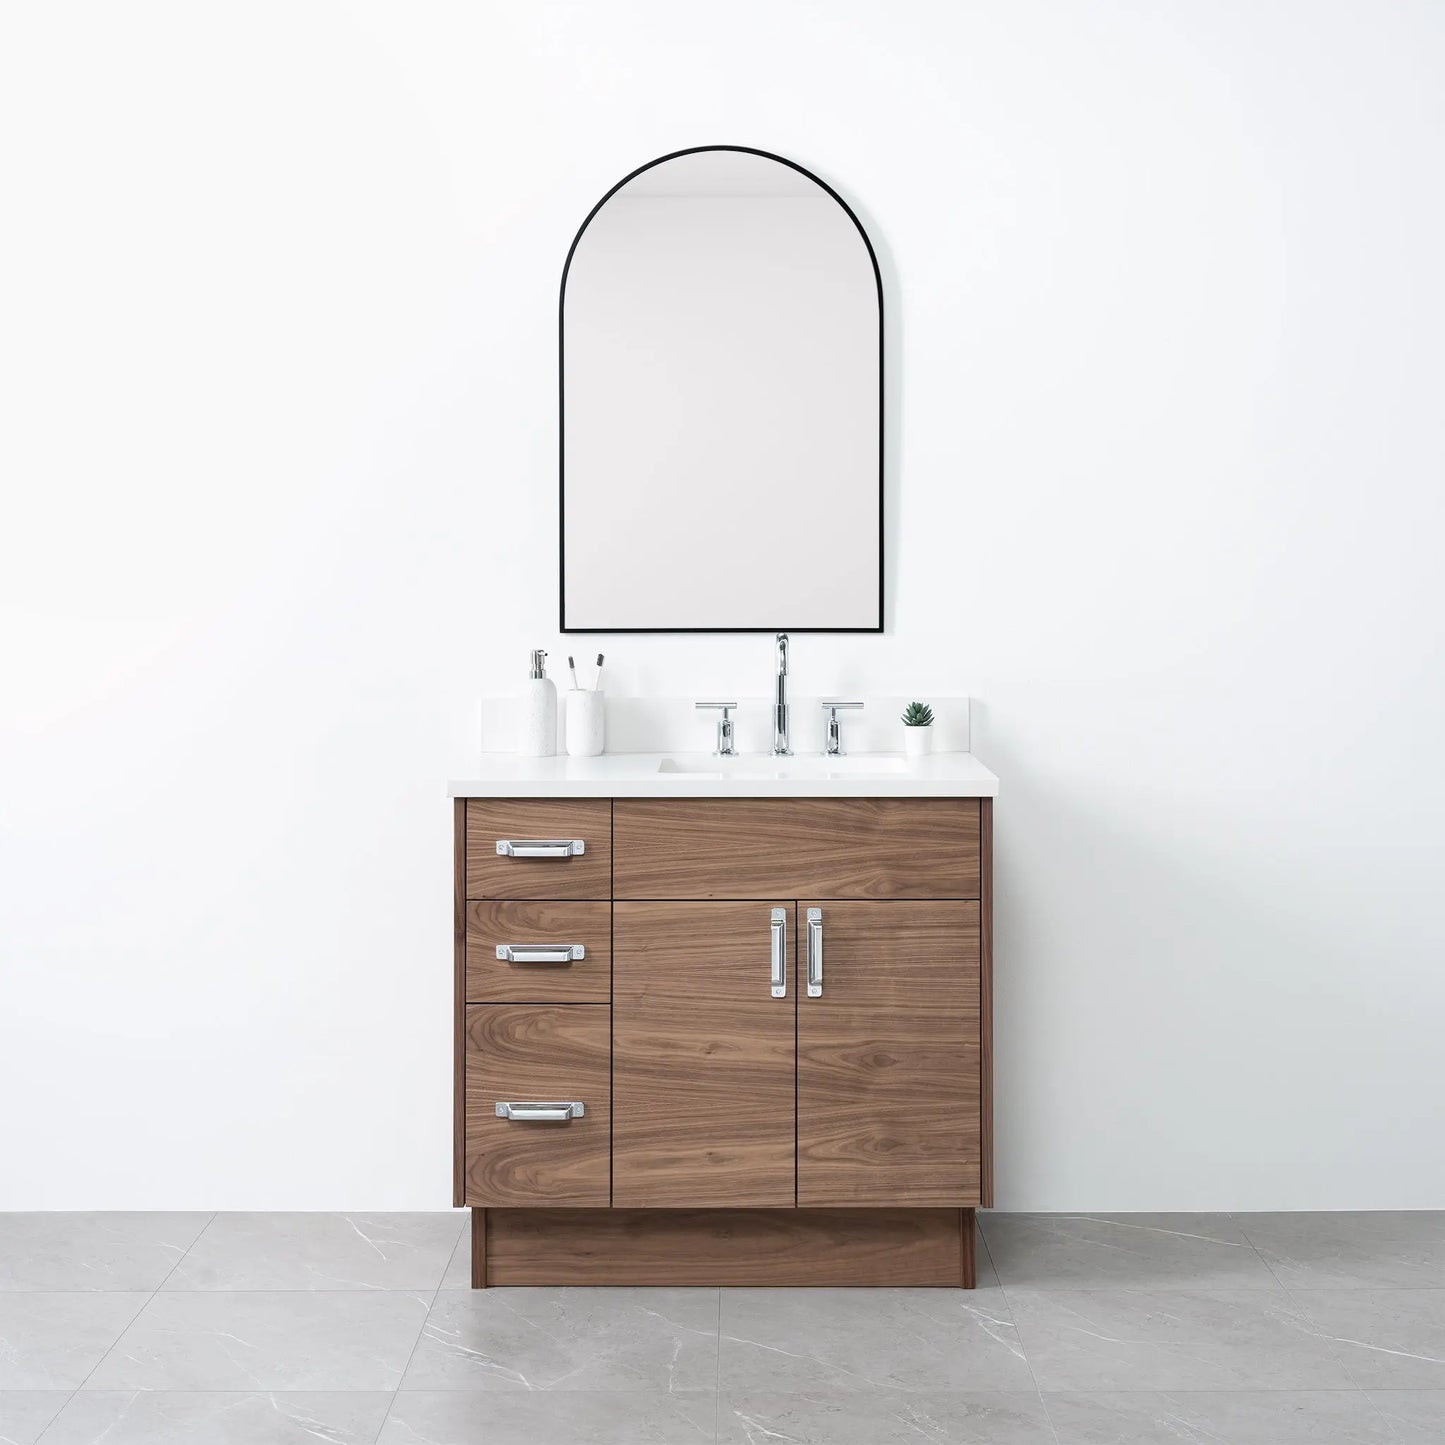
Looking for high-quality bathroom vanities made in Canada? At Teodor Vanities, we offer a curated selection of vanities designed to suit every space, style, and storage need. Each piece is crafted with solid wood construction and soft-close drawers, built for daily use and lasting performance. We also use premium hardware and offer quartz countertop options, giving you a vanity that combines durability with a clean and classic look. Whether you’re furnishing a compact powder room or a spacious shared bathroom, you’ll find options that match your layout and aesthetic. Choose from floating vanities for a modern, open look; single sink vanities ideal for smaller spaces; or two sink bathroom vanities perfect for shared or family use. Our range includes various finishes, such as Gloss White, Matte Black, Natural White Oak, and American Black Walnut, allowing you to choose the perfect look for your bathroom. Every vanity is proudly made in Canada, and we offer free shipping nationwide. If you’re unsure what fits your space best, our team is happy to help with sizing, finish options, and layout suggestions. Explore our full collection to find the bathroom vanity that fits your needs—designed to last and made to feel right at home.
